Skip to Main Content
Creating and Sharing Video Clips
Creating Video Clips
- Click on the link above to visit Psychotherapy.net.
- Find and open the video you would like to use to create clips.
- Below each video is a transcript box. The words are highlighted as they are spoken in the video.
- When you find the part of the video you would like to save as a clip, first pause the video to stop the transcript box from scrolling.
- Highlight the transcript text in that part of the video.
- To the right of the video is a box with three tabs and two buttons below the box. Click on “Make Clips.”

- A new box will pop up asking you to name the clip.
Naming Video Clips
- When naming your clips, using the following naming convention will make finding your clips easier:
- COURSE NUMBER-YOUR INITIALS-DATE
- Example: SW100B-JG-04.03.15
Saving and Sharing Video Clips
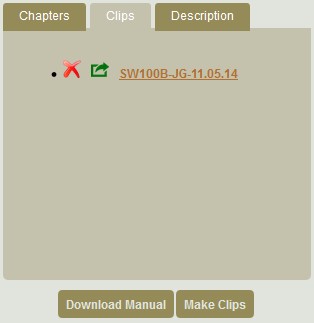
- Click on “Save Clip.” A link to the clip remains in the “Clips” tab until it is deleted.
- Delete clips you do not plan on using anymore so that actively-used clips are easier to find. UCLA Library staff will delete the oldest saved clips when the list gets too long.
- You can view the clip by clicking the “Clips” tab of the box above the “Make Clips” button.
- To play the clip, click on the clip’s name.
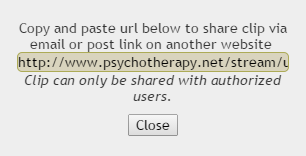
- To share the clip, click on the green “Share Clip” button.
- Highlight and copy the text in the pop up box that appears.

- Now you can share the entire URL (by email, on another website, etc.).

